I stumbled upon
SugarFreeSheila.com while I was reading Cleo's wonderful blog,
The Lighter Side of Low-Carb and I spent five hours straight just reading all about her experience with Atkins, her FAQs, looking at before and after pictures and of course drooling over recipes.
One of the recipes that caught my eye, not only because of the simple ingredients and easy steps but on top of that had the magic words: INDUCTION FRIENDLY. You know how in cartoons when someone has a great idea, a light bulb goes off? Well that light bulb went on for me and it didn't turn it itself off until I made the recipe.
It tasted good the first time I made it but it was too big and I had a difficult time flipping it. I admit I'm a little flipping-challenged. That's how I thought of using egg rings. The pancakes would be smaller thus easy to flip! Genius, right? Not really but if you say so, I'll run with it.
The second time I made the pancakes, they looked as good as they tasted. I made sure I let them "burn" a little to give them that browned look that pancakes have. When I posted pictures on the LCF forum, people wanted to know how I made Sheila's pancakes and now I'm going to share it with step-by-step pictures.
SugarFreeSheila's Delicious Low-Carb Pancakes*I have scaled the recipe up because it's easier for me to just make a big batch each week. The recipe with the original serving size of 1 can be found here.
1 (8 oz) block of cream cheese
5 eggs
1 T Splenda
1 t Vanilla Extract
Vegetable oil for frying

"Special" equipment I use
2 cup measuring cup
4 egg rings

Plop the cream cheese inside the measuring cup. Don't be messy like me. Microwave it at high for about a minute. I would do it for 2 minutes and have pieces of burnt cream cheese which are AWESOME! But if you're not as adventurous as I am then 1 minute is fine. Prepare yourself for the wonderful smells that will fill up your kitchen and make your tummy growl and say, "Hurry with breakfast already!"

Stir the cream cheese until it is softened and well-blended. Add Splenda and vanilla extract. Stir some more.

Add eggs one at a time, beating after each addition. You might think that it will be too much for your two-cup measuring cup, you may use a bowl or a bigger measuring cup. I like using a measuring cup because it has a handle and makes cooking the pancakes easier.

This is my set up. I have the pan in the middle, egg rings and bowl with oil to the right and spatulas on the left. When I cook something, anything, the kitchen turns into a war zone so it helps me if I'm organized.

The egg rings get a short bath in the oil and then placed on the pan like so. Turn on the stove, medium-high is fine. I make sure that the pan is hot before I pour the batter in.

I apologize for not including my ice cream scooper in the "special" equipment list. It really is handy. I use it for cupcakes, cheesecake muffins, cookies, etc. So anyway pour one scoop's worth of batter into the egg rings and let it cook until the sides are dry. It also helps to wiggle the egg rings gently one by one to make sure nothing is sticking to it.

Remove the egg rings. If there is a sticking issue, just use a spatula to gently nudge the sticking part until it lets go of the egg ring. Flip each pancake. Marvel at the nice browned side. Did I mention the really wonderful smells filling your kitchen? Well this time it's filling the entire house. It made my DH run downstairs to find out where they were coming from.
Once you feel like the pancakes are browned on the other side, remove them from the pan. Add more oil, if needed, for the next batch. I always dip the egg rings before each batch. With this batch I make 12 mini pancakes. The number depends on the size of the egg rings you will use.
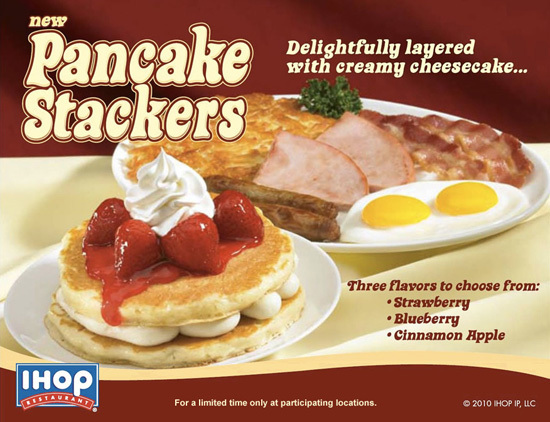
There you go! A beautiful stack of pancakes, delicious, low-carb and drumroll please... INDUCTION FRIENDLY!

Enjoy!